This is a One click demo install Theme, it may require upto 20 minutes to complete the installation process. This is an auto process and the installation speed depends on your server status. If you face any problem while following the below steps please send us an email from this contact form http://themeroasters.com/support/ - we will do our best to solve the issue.
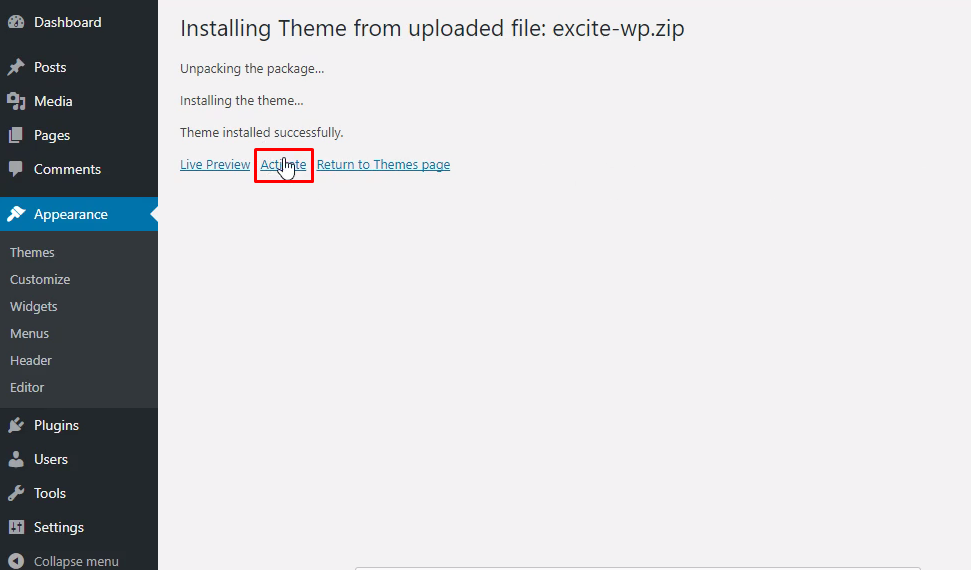
Till this step Theme installation is done.
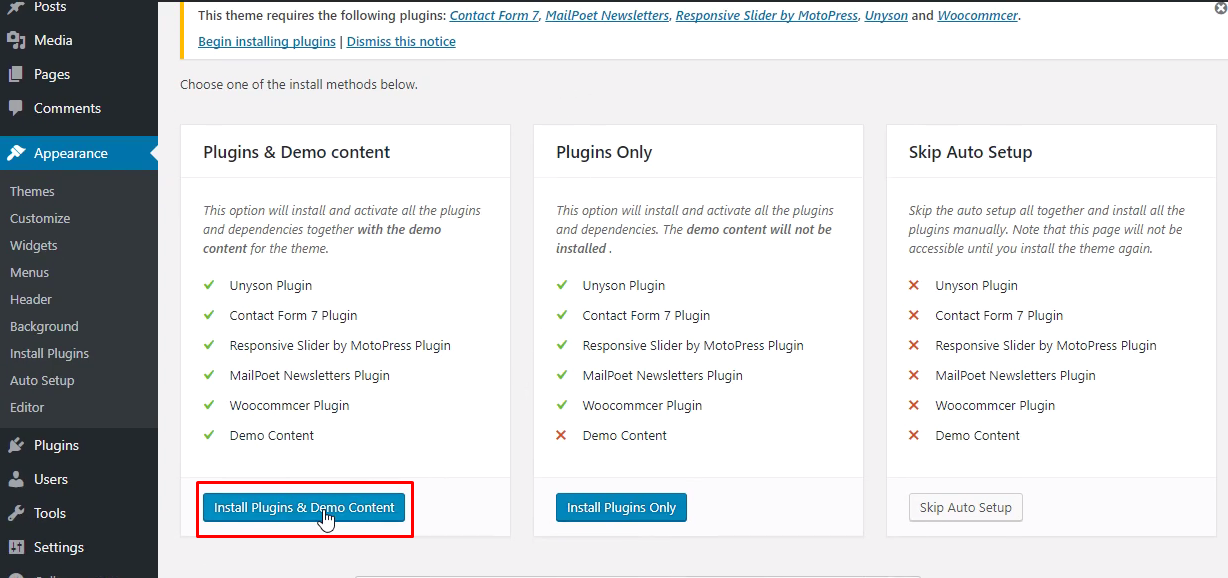
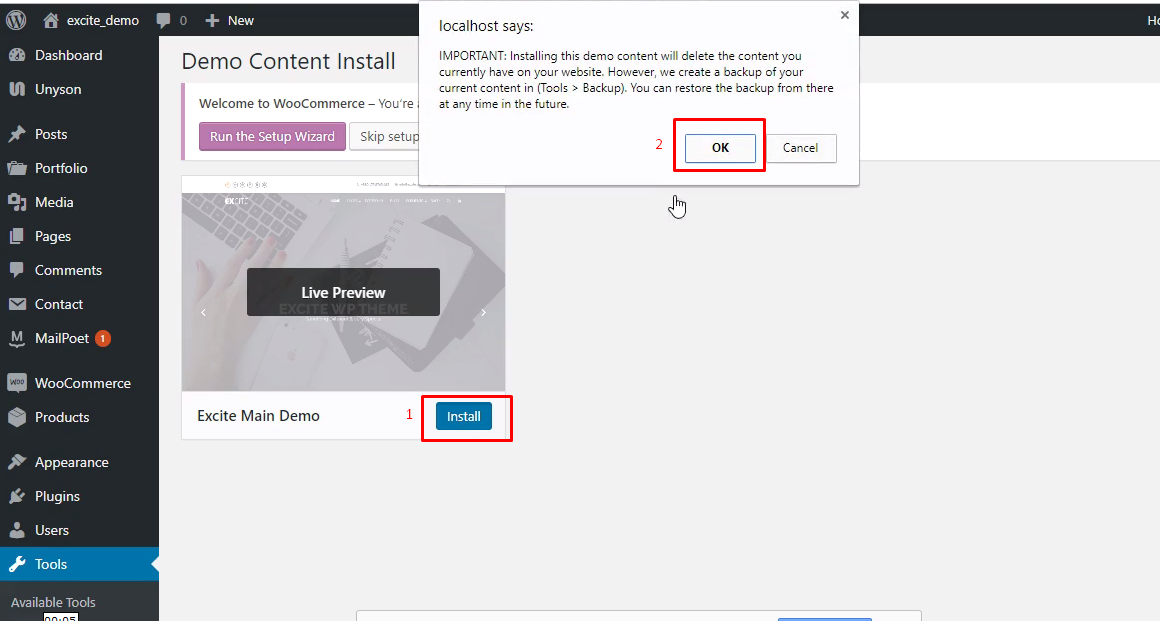
To import Demo Contents and make it like demo - follow the next steps.
Congrats!! The theme setup is now complete with demo installation.
Installation points in Detail given below.
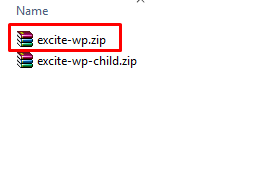
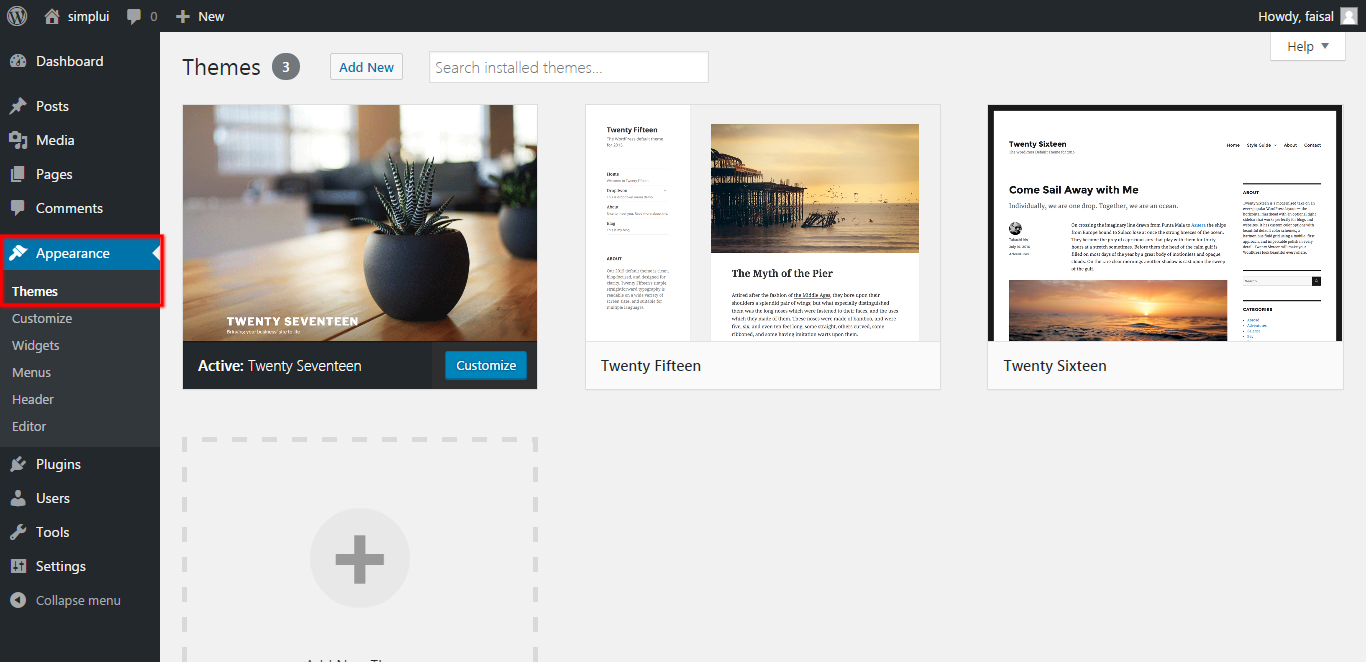
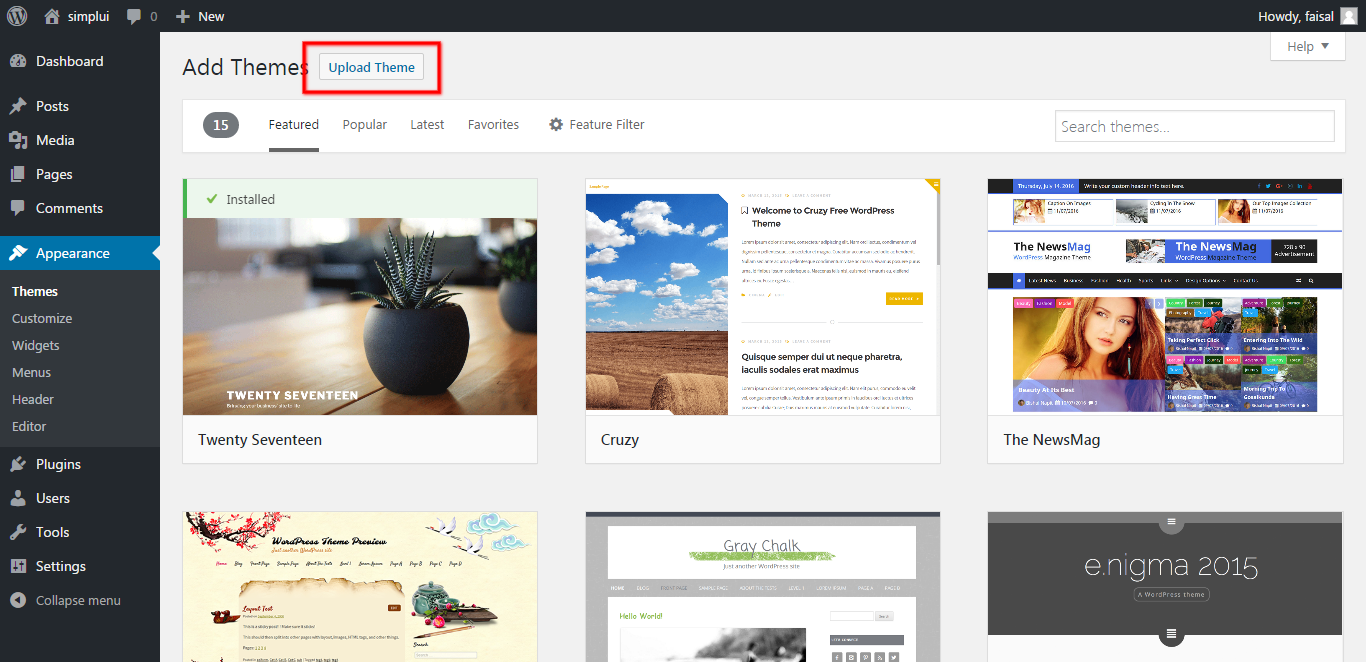
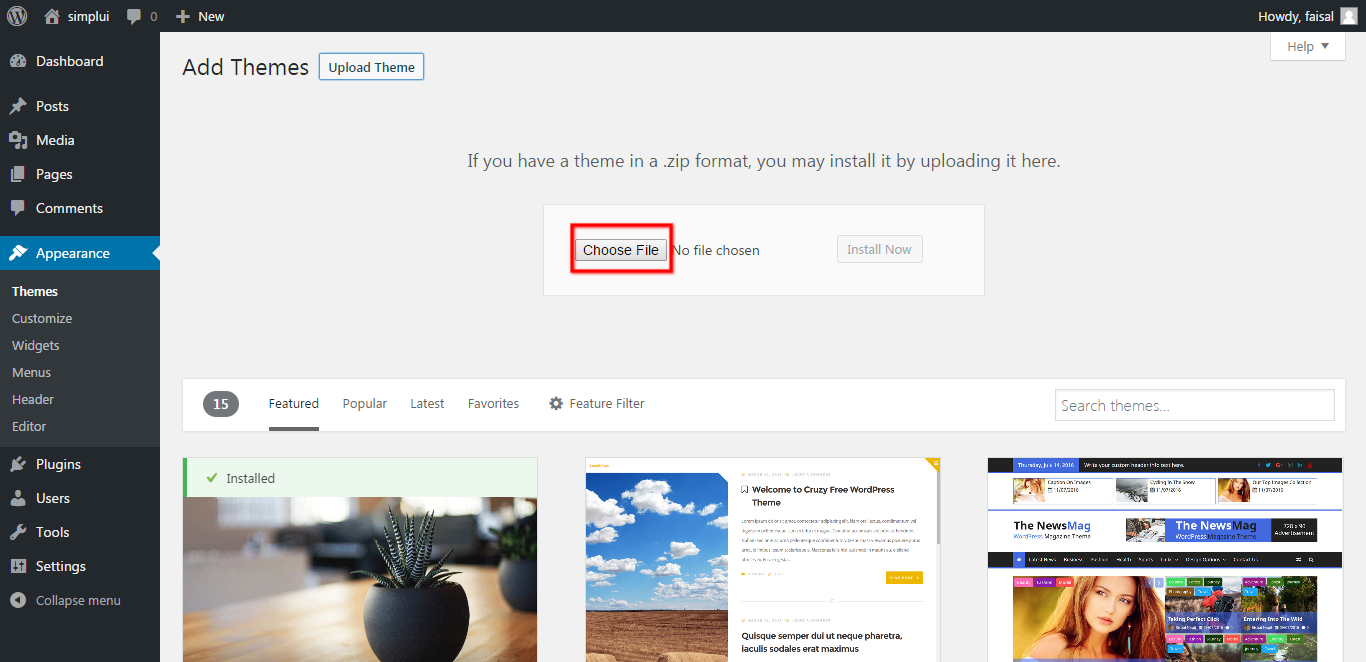
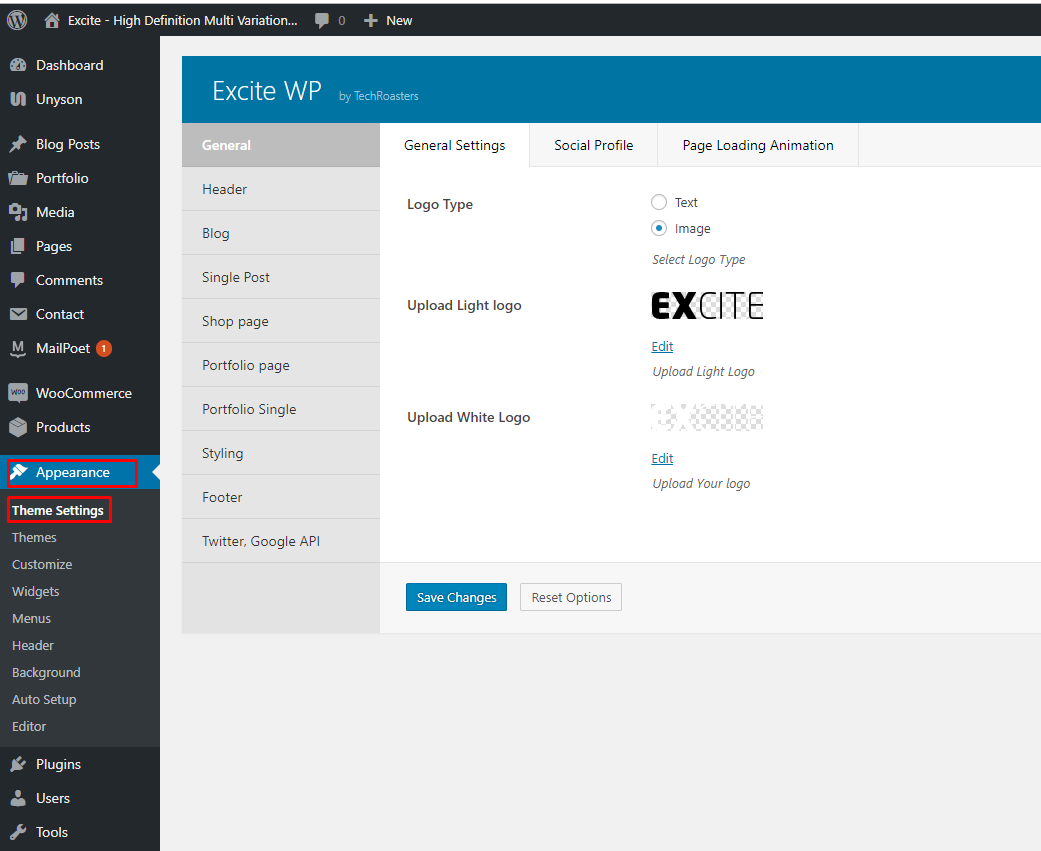
Unzip the zip folder and look for "excite-wp.zip" under "theme-pack" folder. Install the theme "excite-wp.zip" by directly uploading to Appearence > Themes > Upload Theme. option from dashboard OR upload excite-wp folder with FTP under folders "wp-content > themes". Upload the "excite-wp.zip"according to the screenshots below. And activate the SimplUI theme.
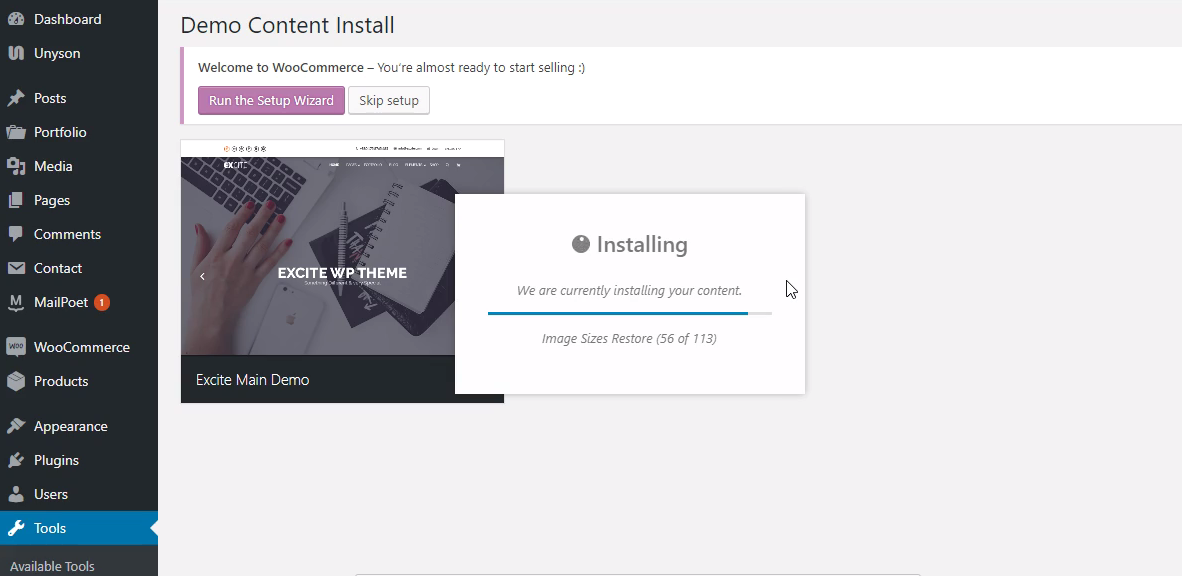
Activate the theme and install with One Click Demo Install. The installation process is itself self explanatory

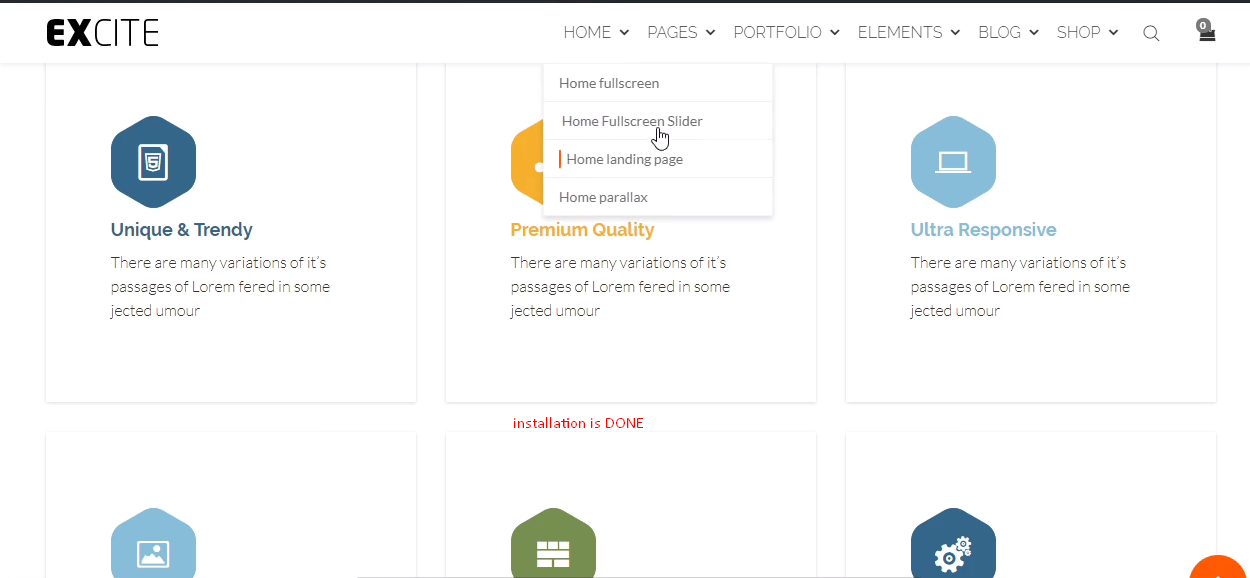
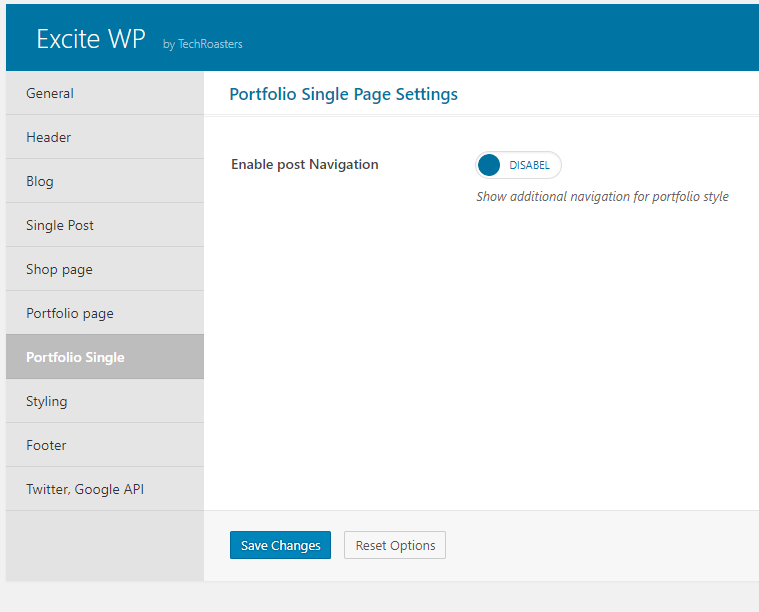
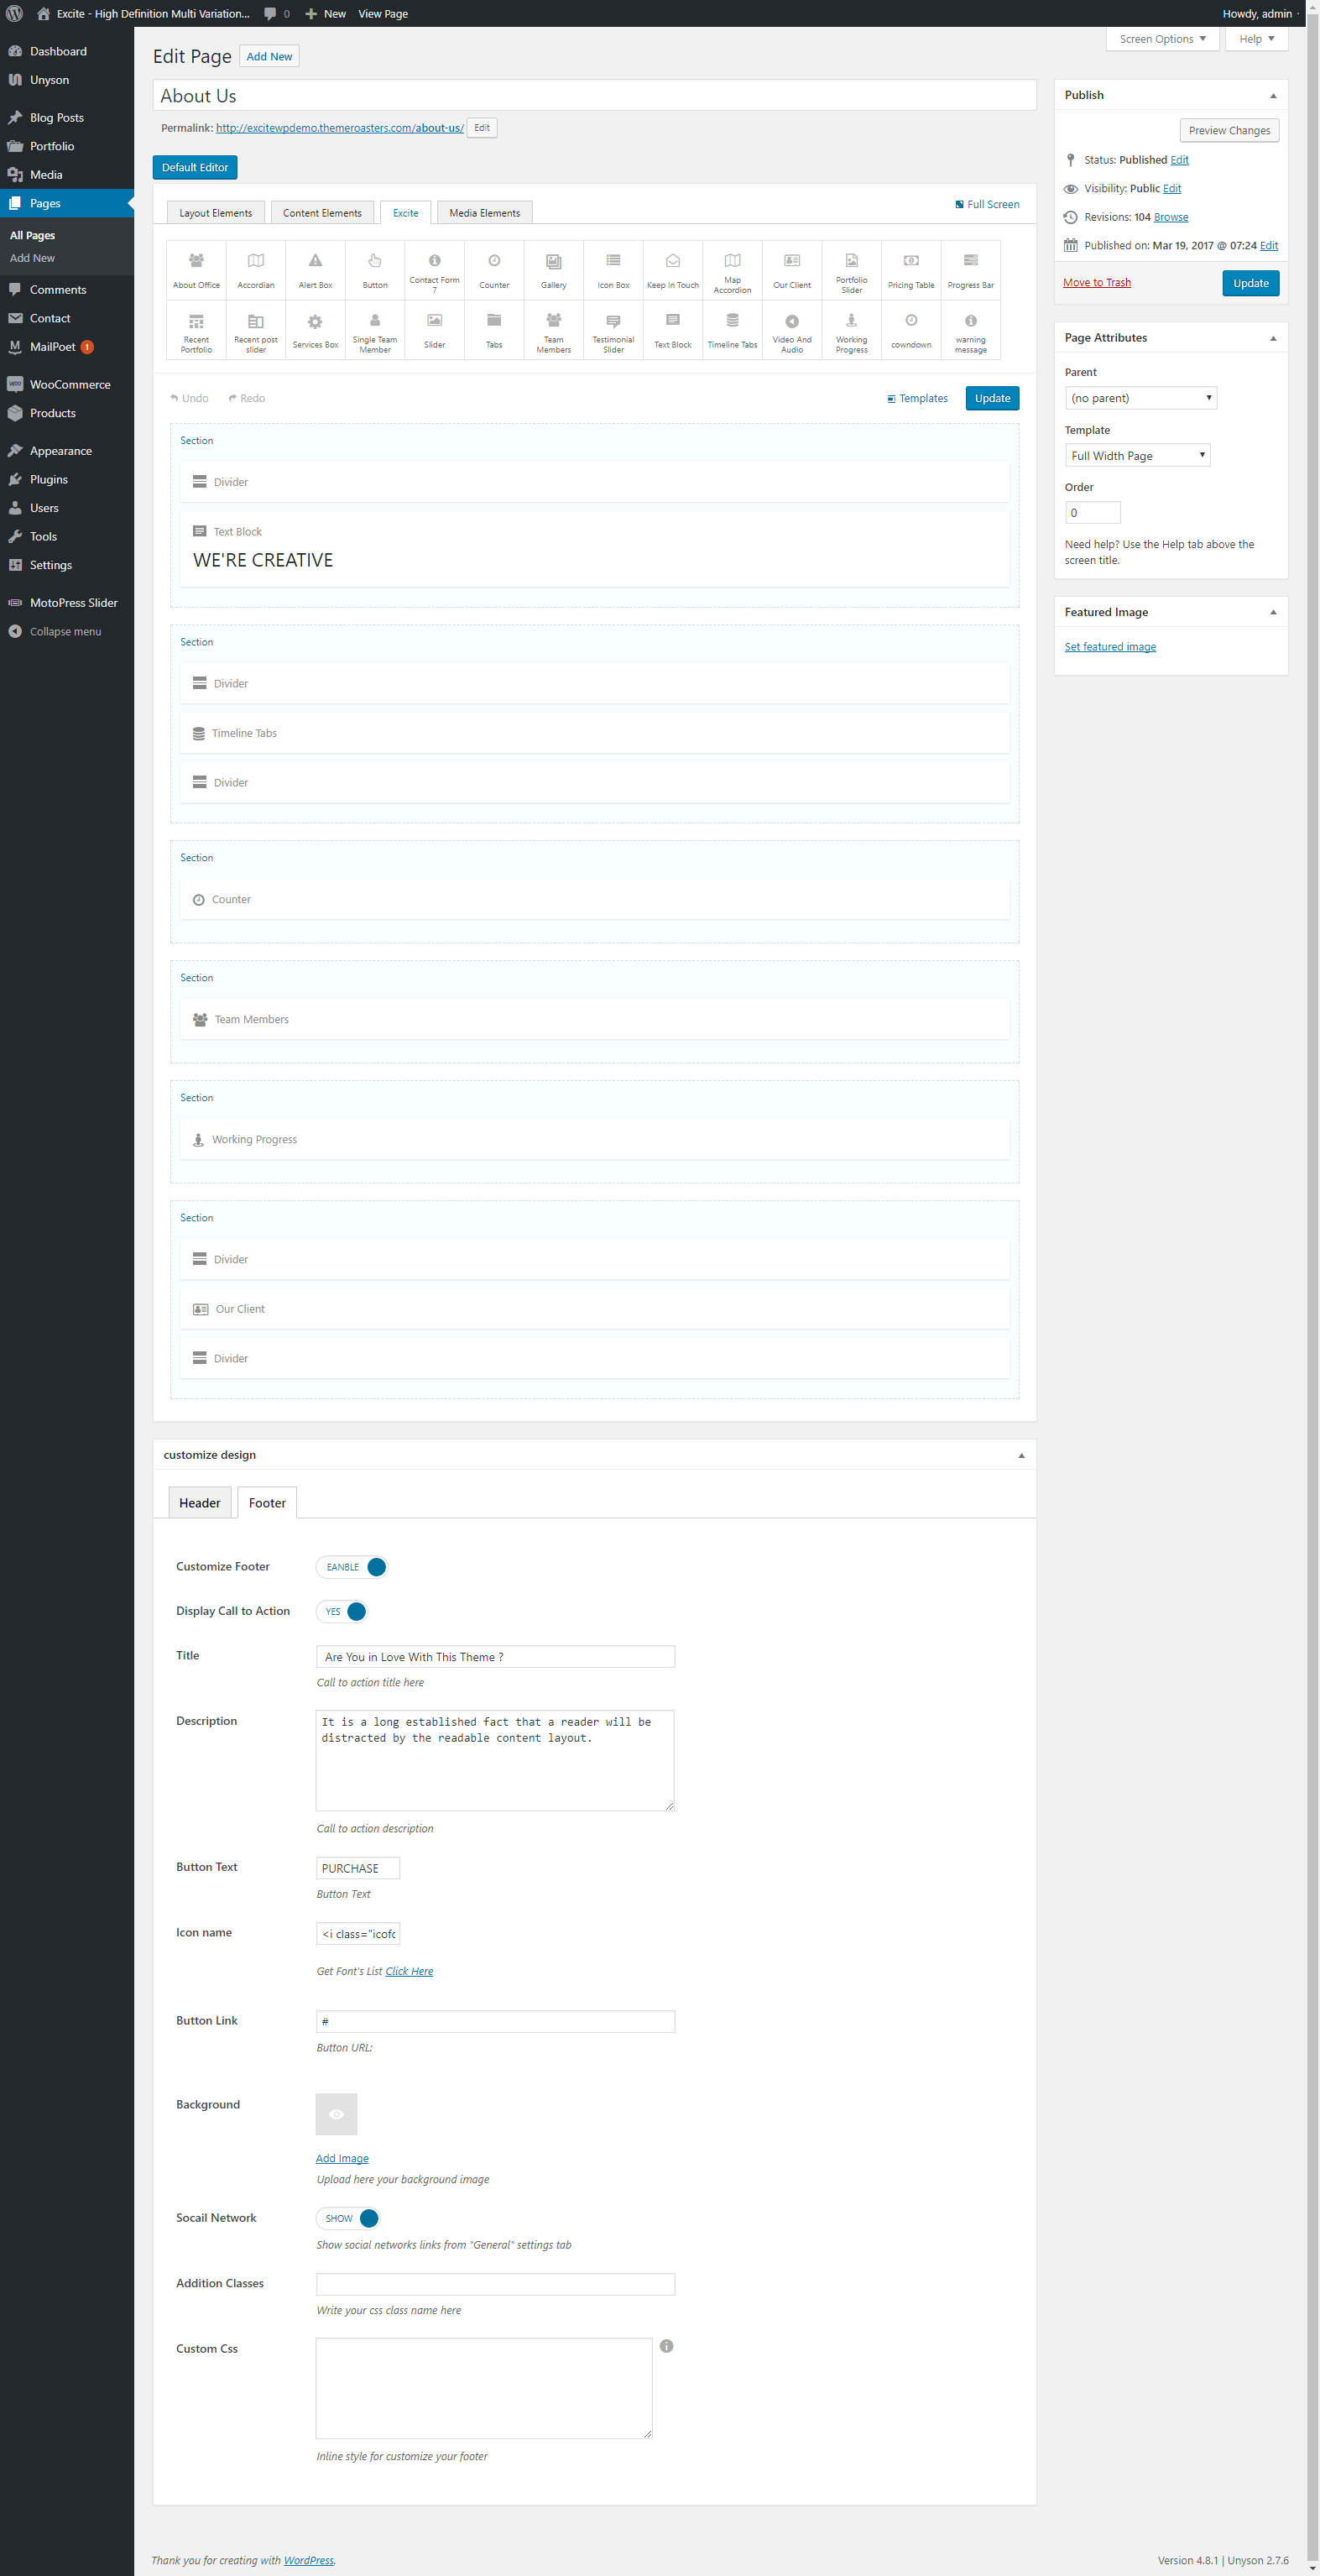
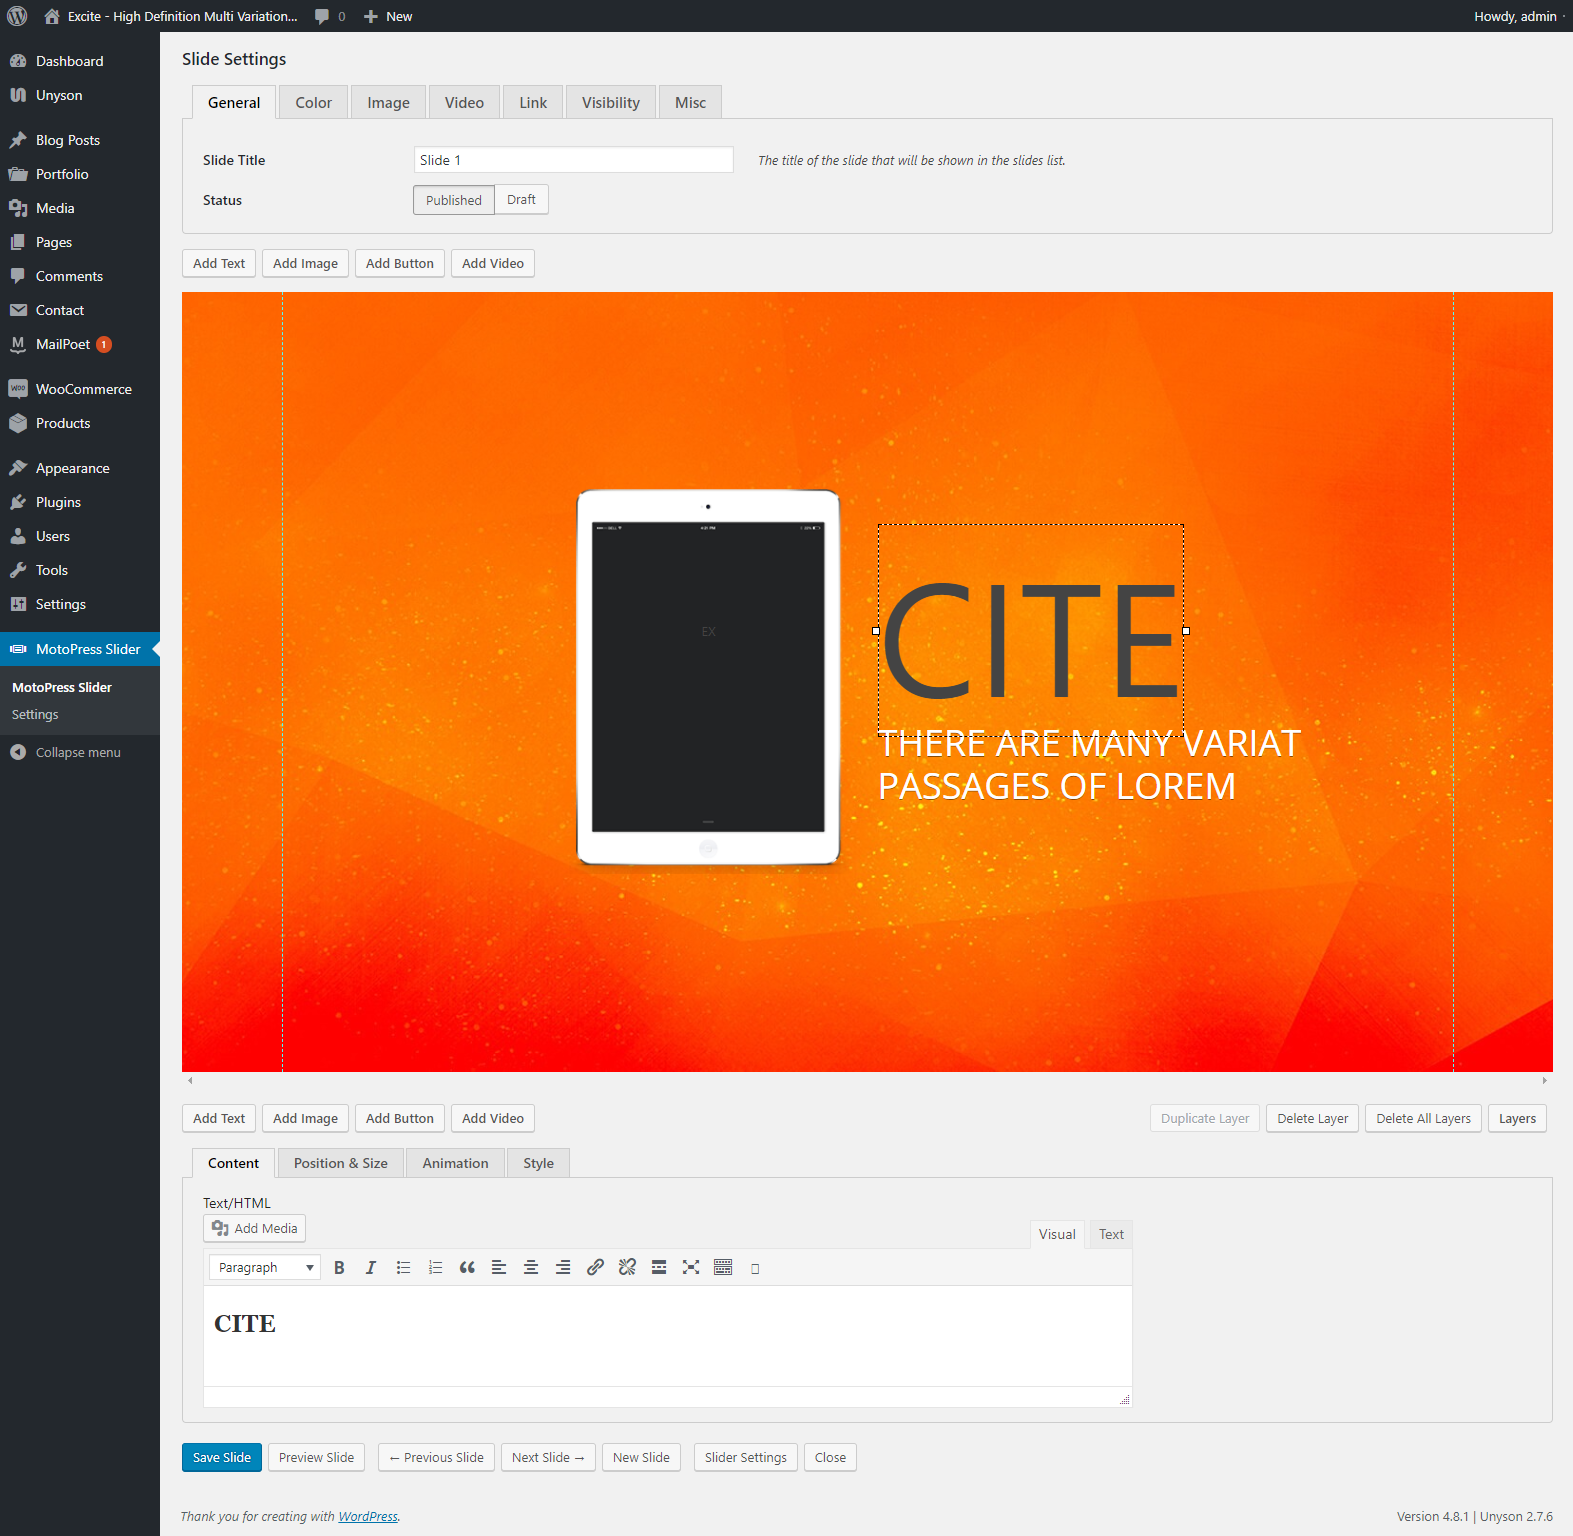
Simple as that!! Your website is now ready - replace all the contents images, texts and you are good to start!!
WooCommerce is optional, if you need it like demo follow this tutorial, please be patient with 10 mins average per video.
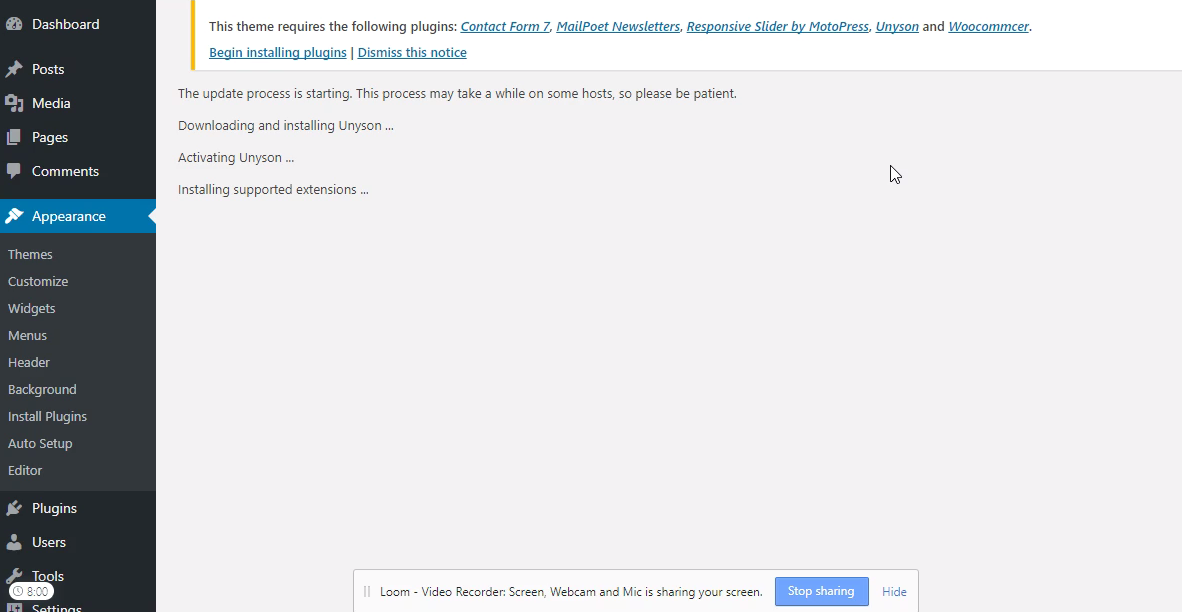
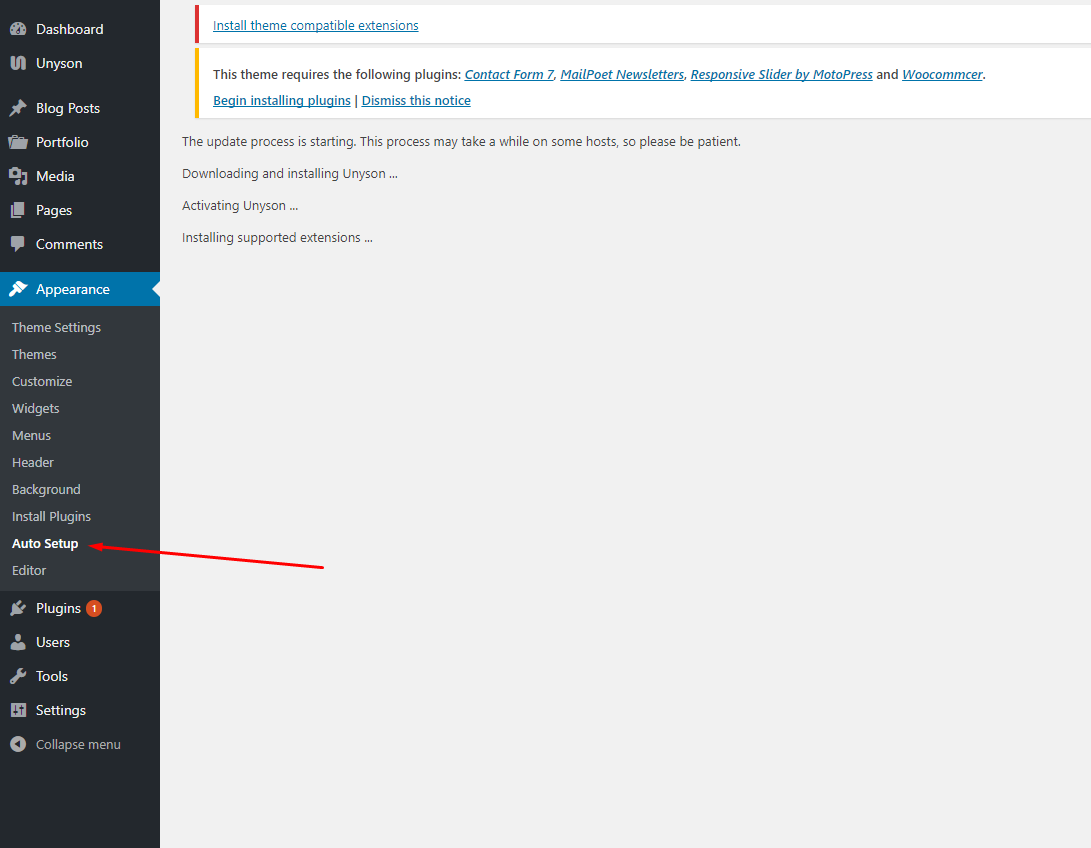
If you see this message:
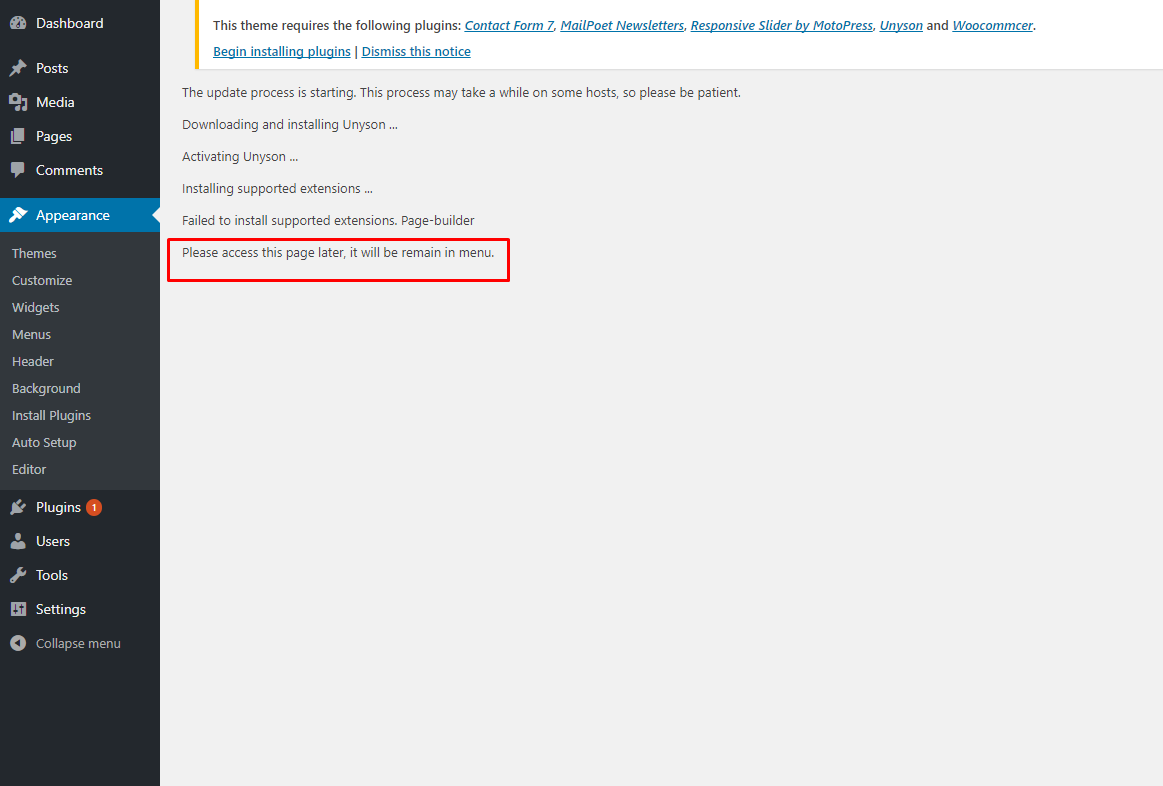
Go to "Appeareance > Auto Setup" and the installation process will resume on it's own, this is mainly due to internet or server connection
After this step follow this step to continue

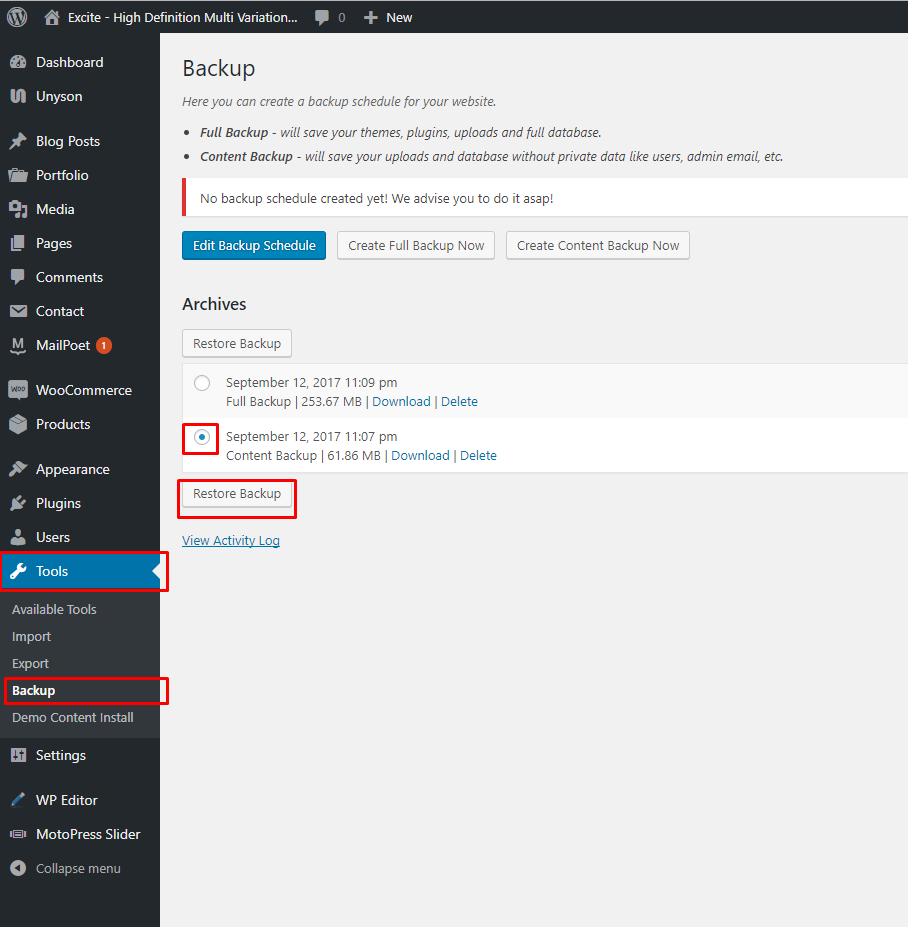
Simple backup for the theme and contents
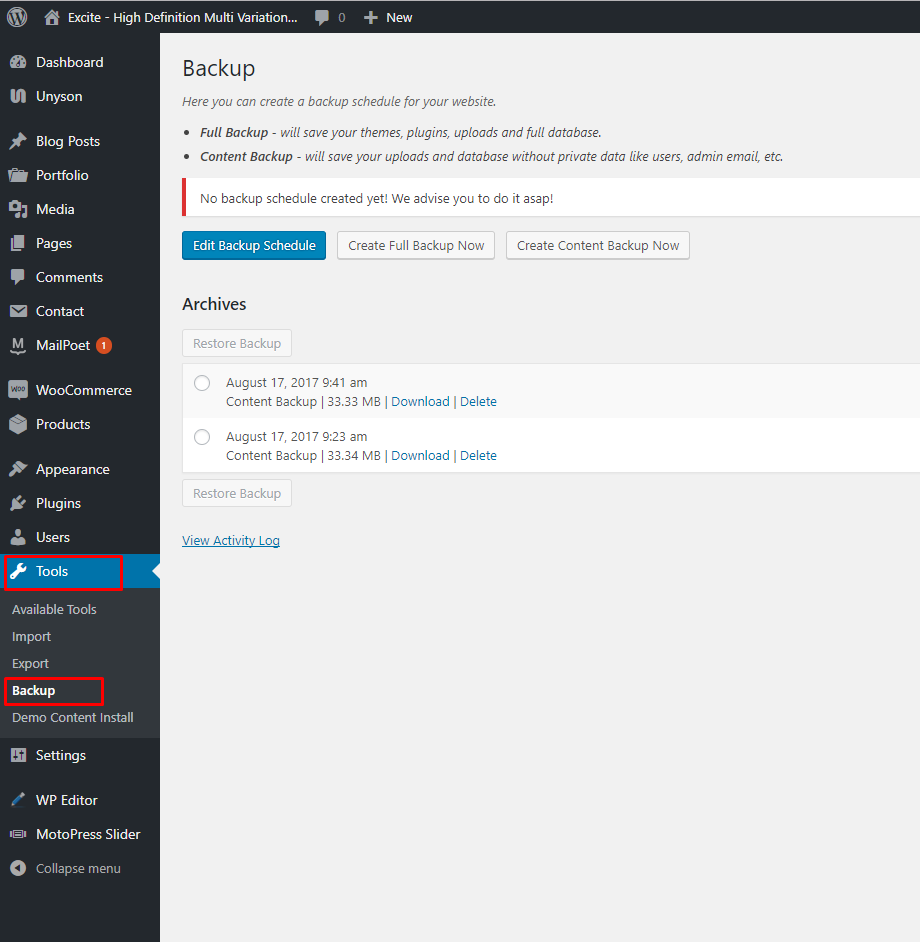
Restore previous backup or Schedule a backup